Easy Lay Flat Backpack Adaptation
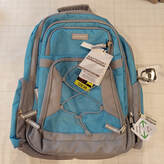 Purchased at Walmart.
Click on photo for link to item. Purchased at Walmart.
Click on photo for link to item.
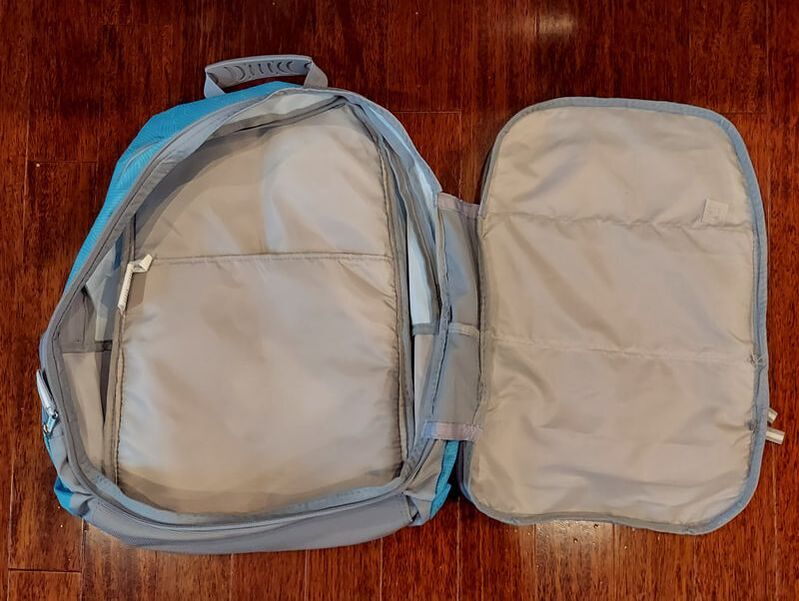
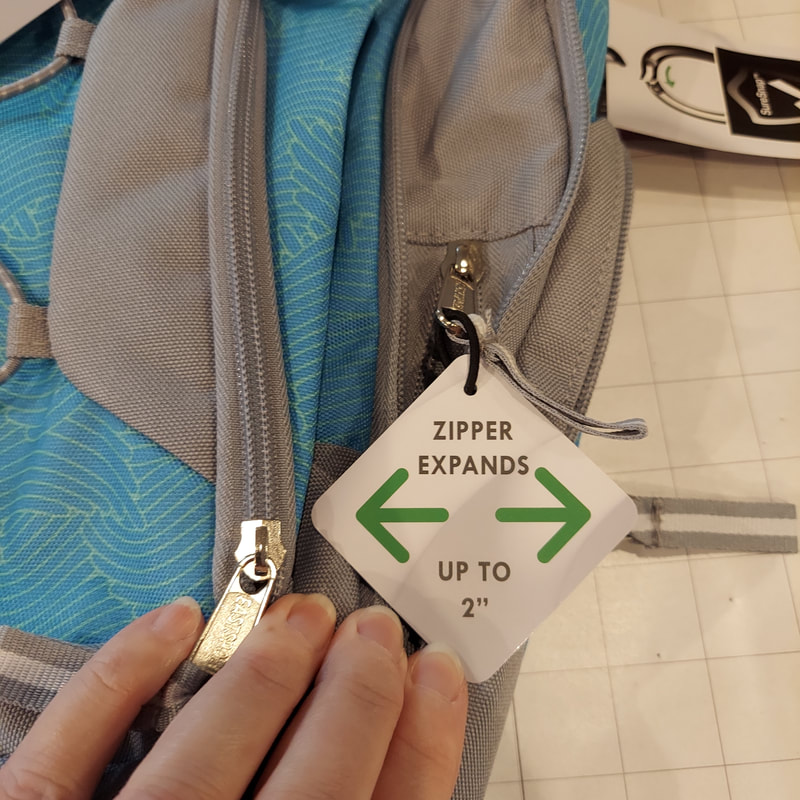
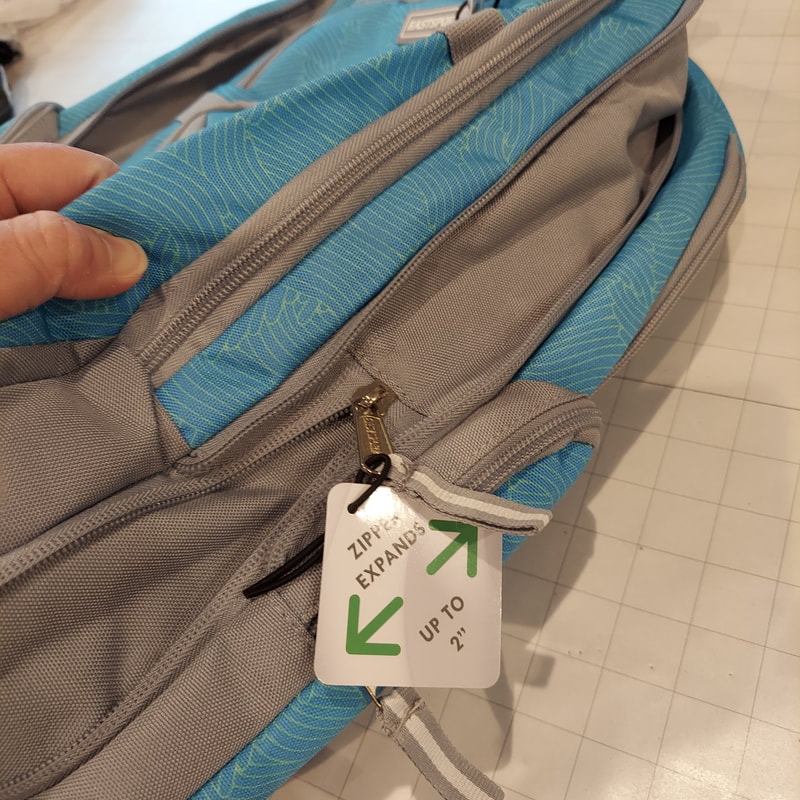
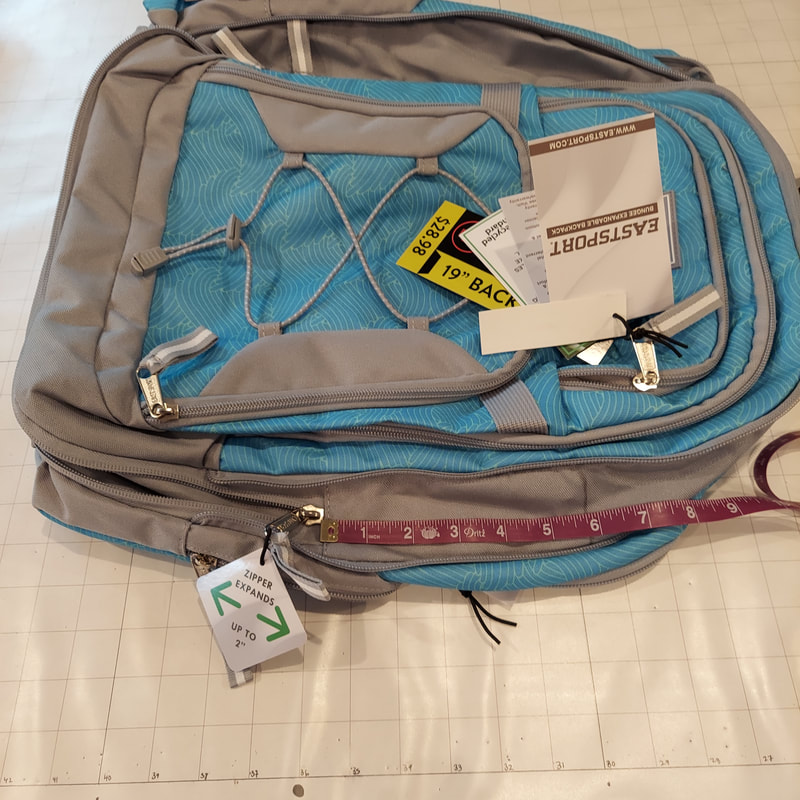
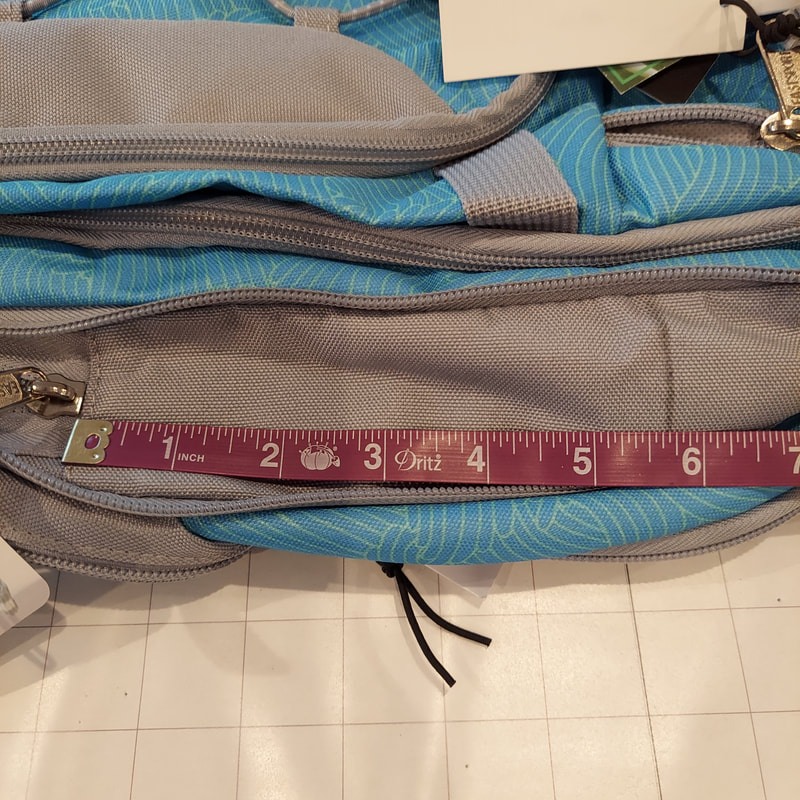
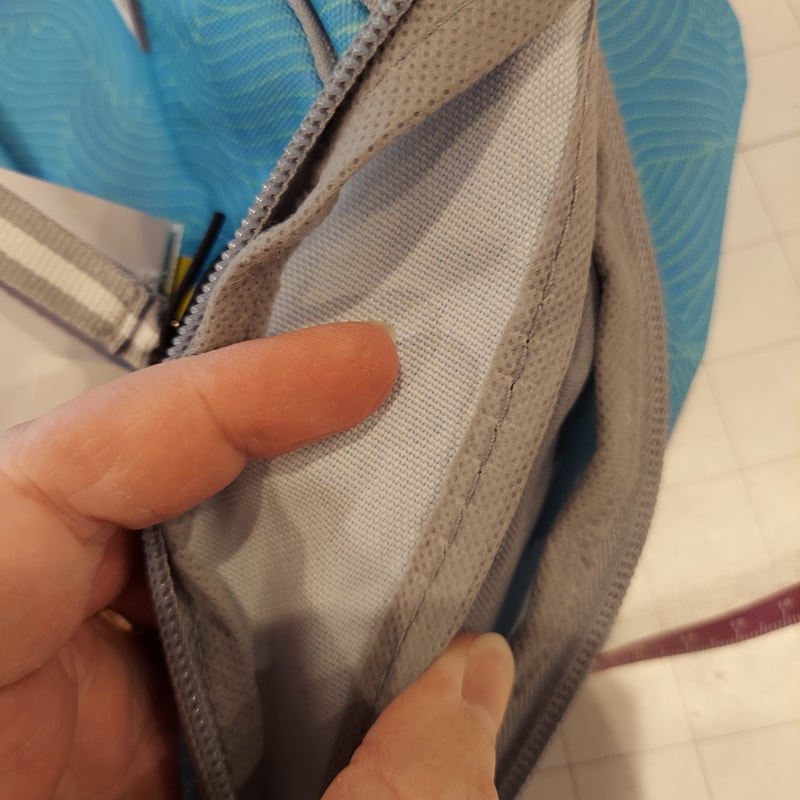
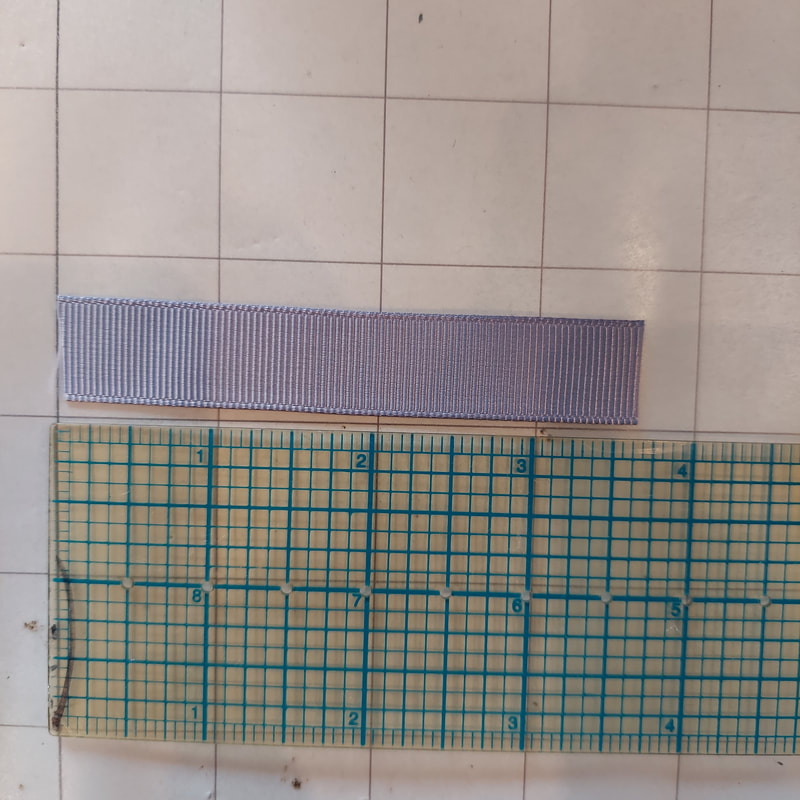
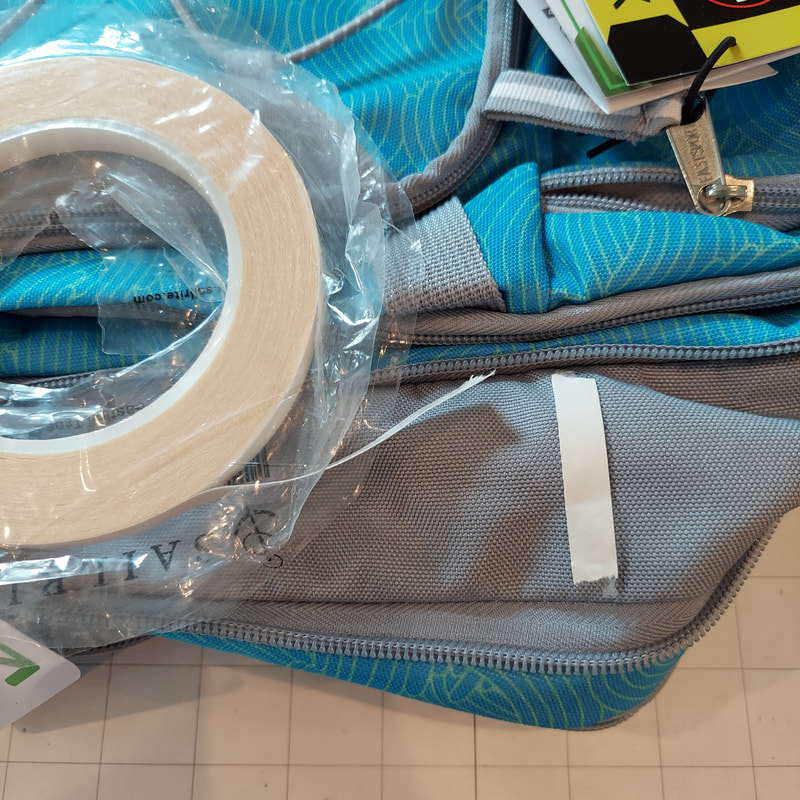
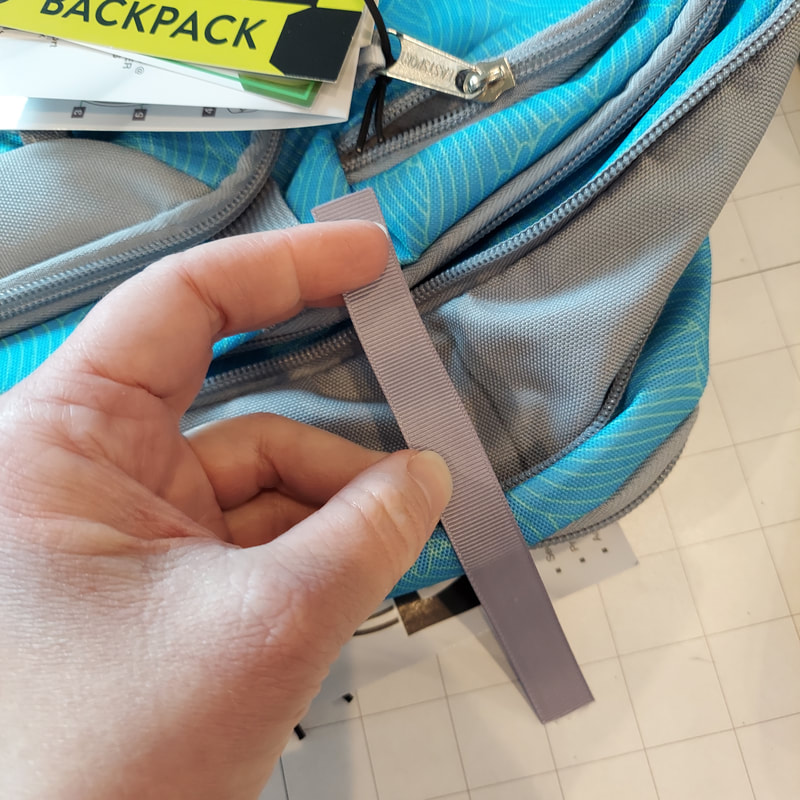
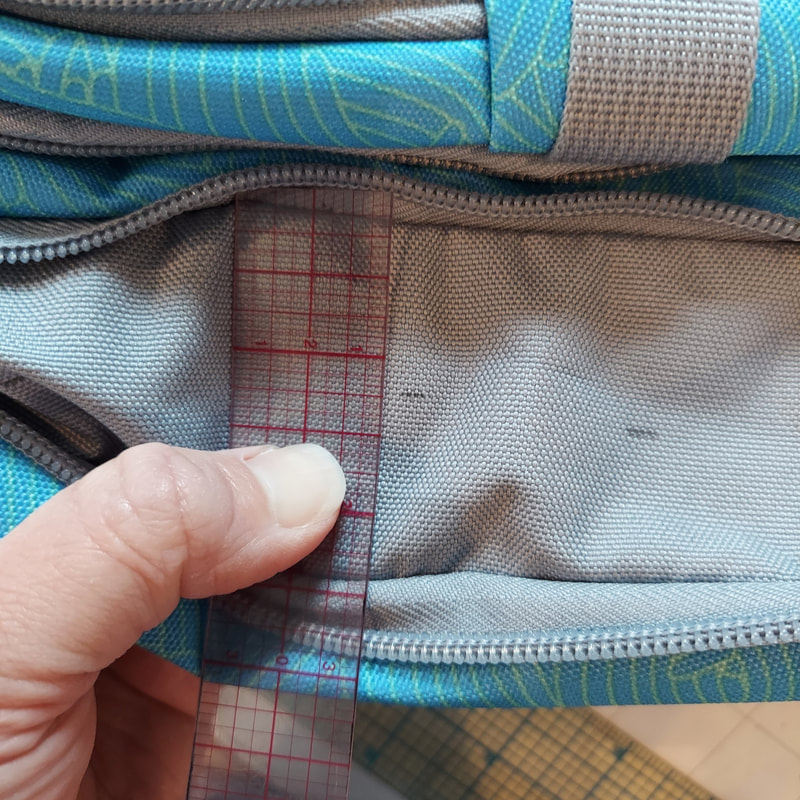
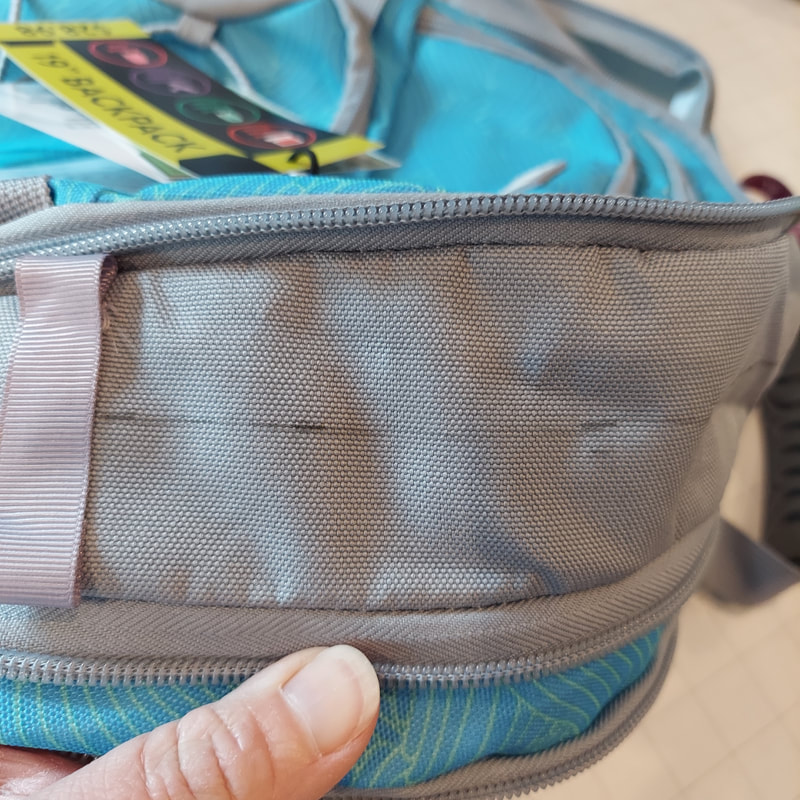
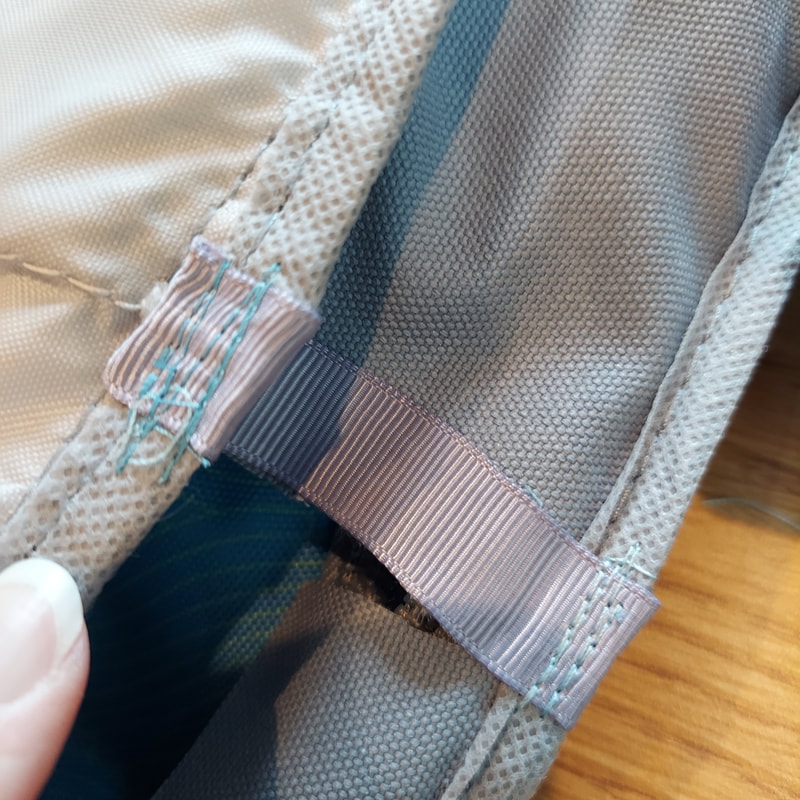
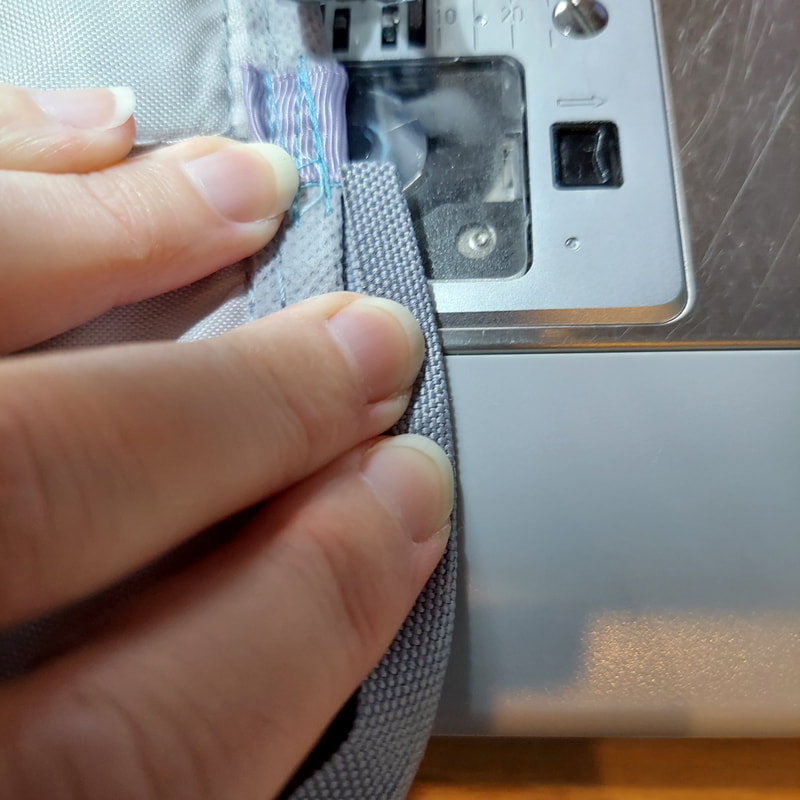
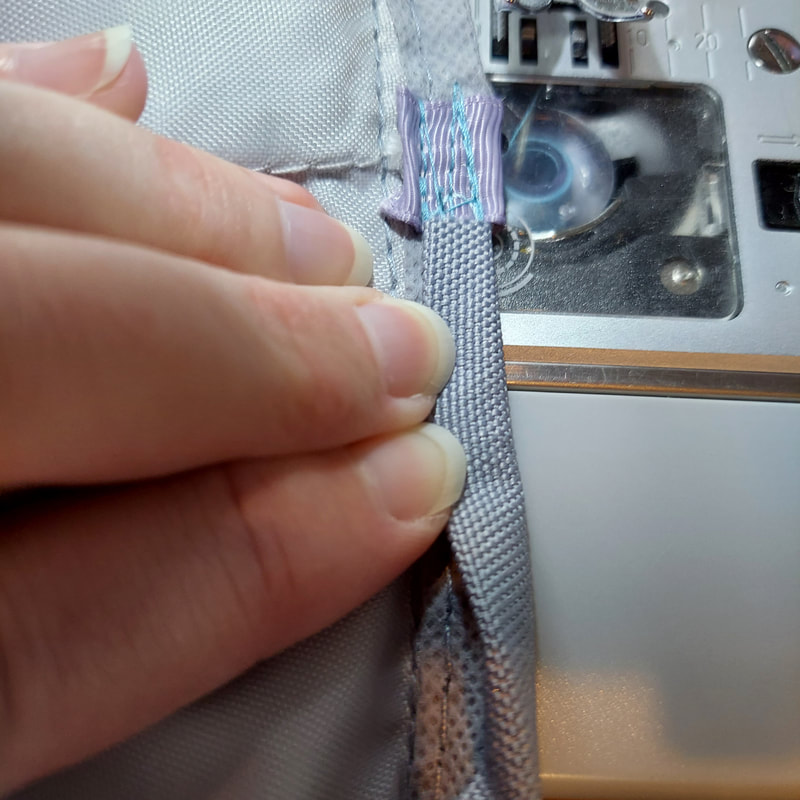
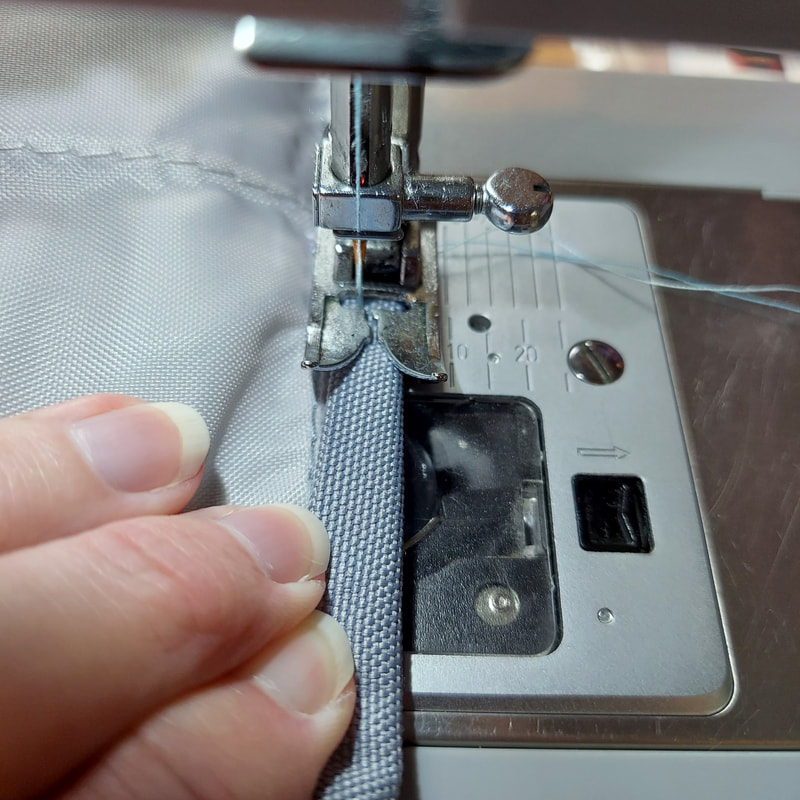
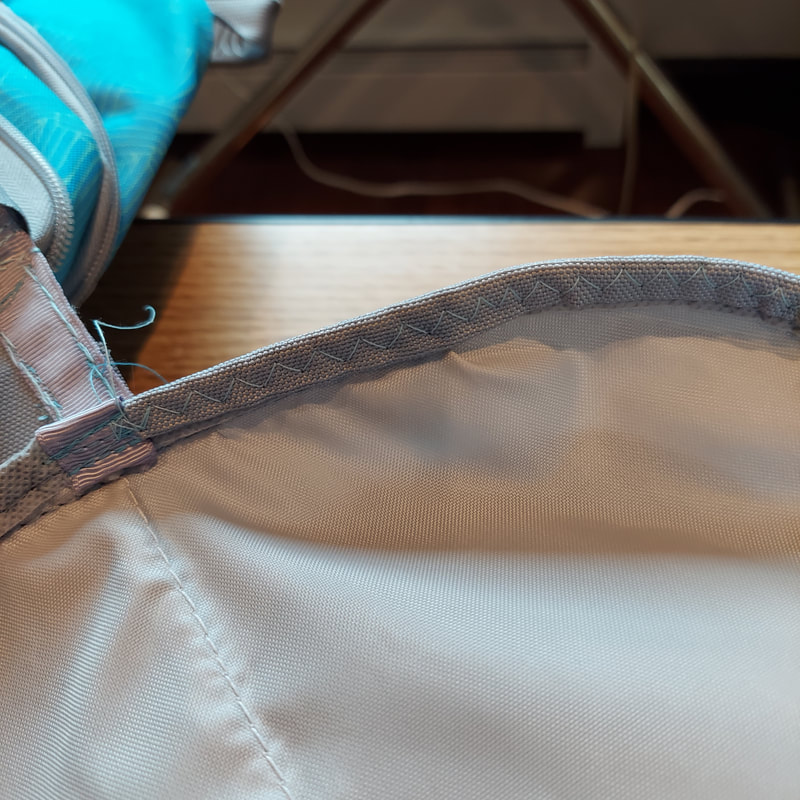
Easy to alter backpack but may not be the sturdiest since they don't make them like they used to! |
|


|
|
|
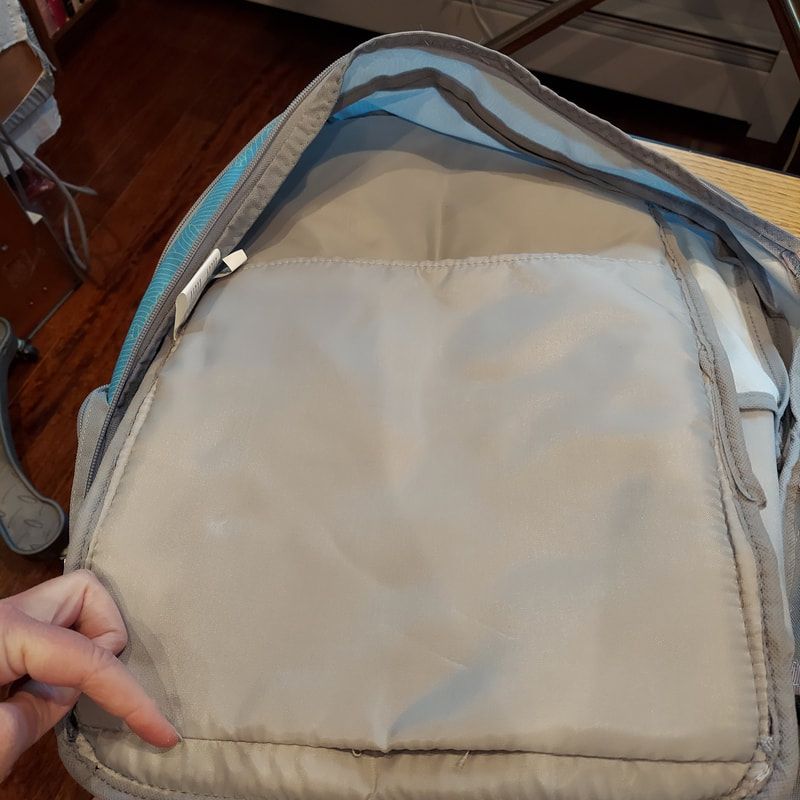
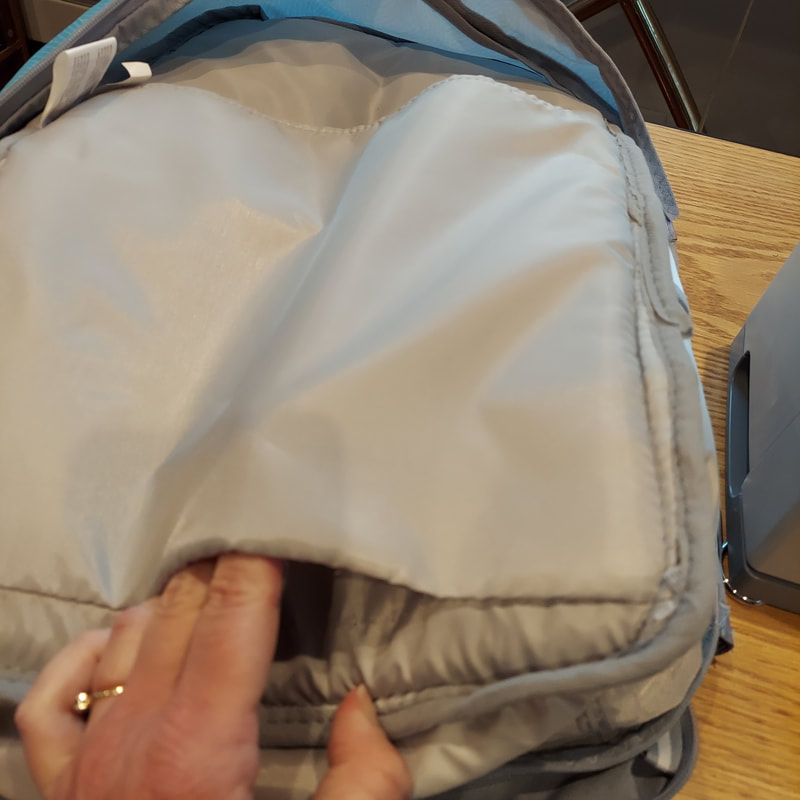
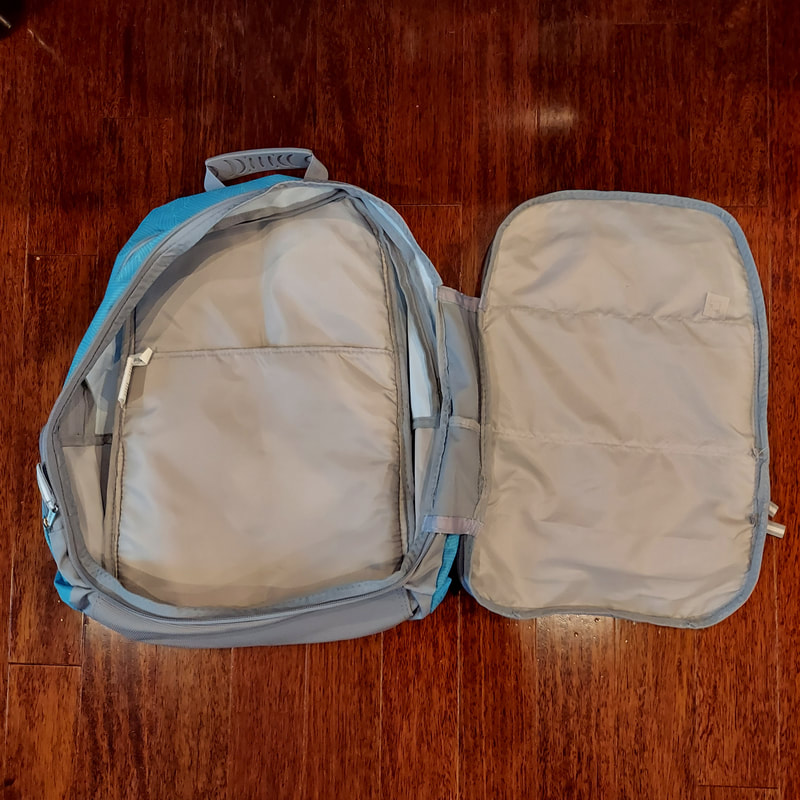
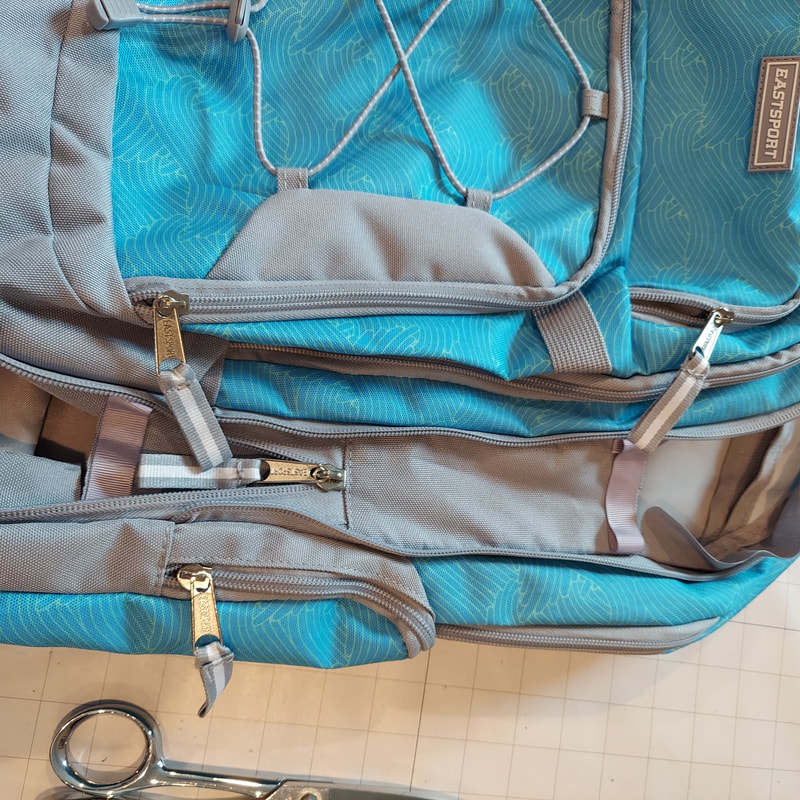
Purchased at Walmart.
Click on photo for link to item.
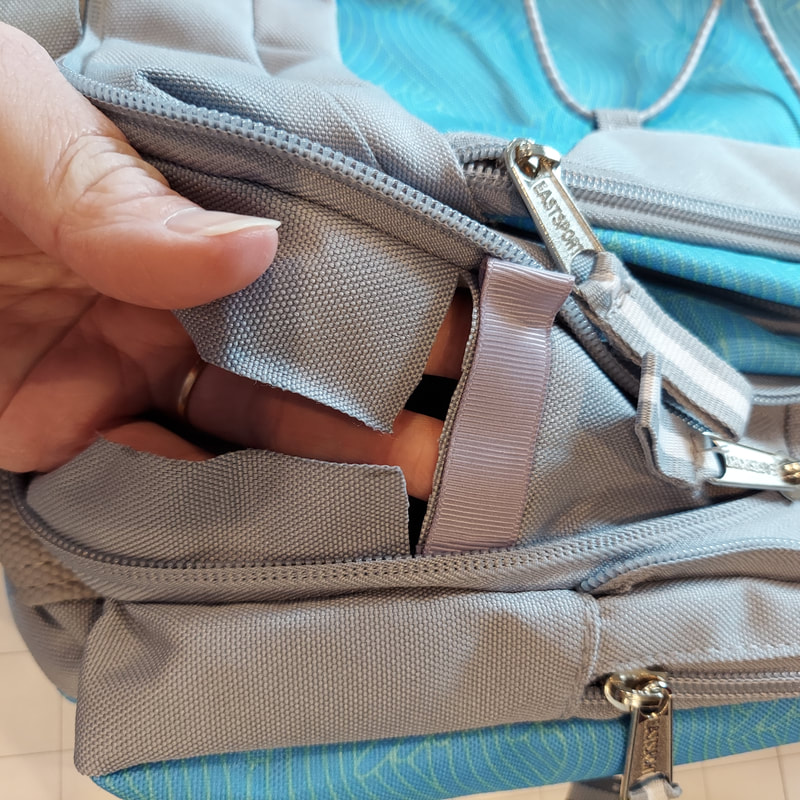
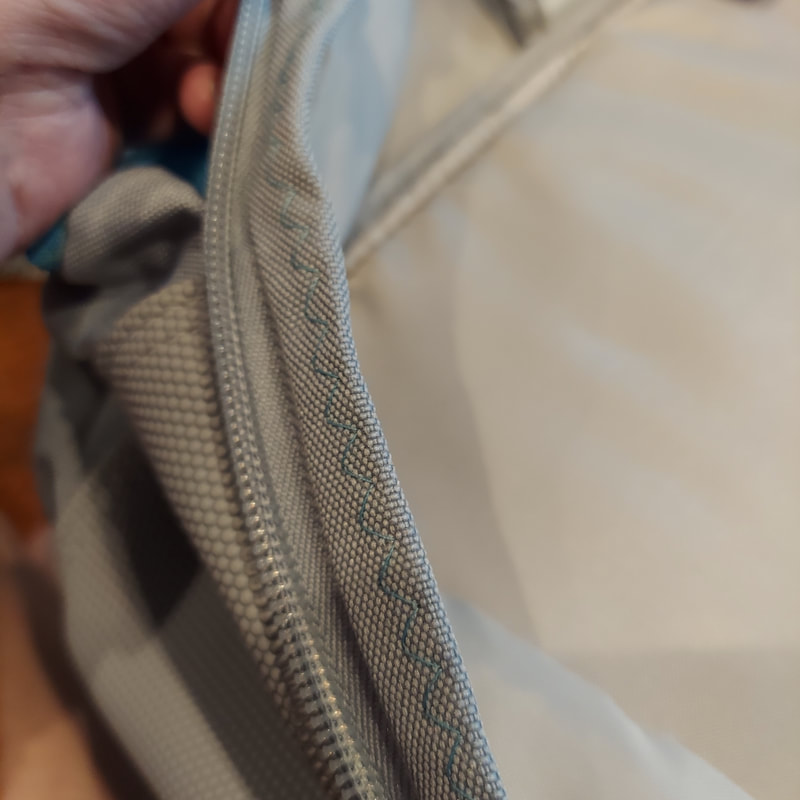
Easy to alter backpack but may not be the sturdiest since they don't make them like they used to! |
|